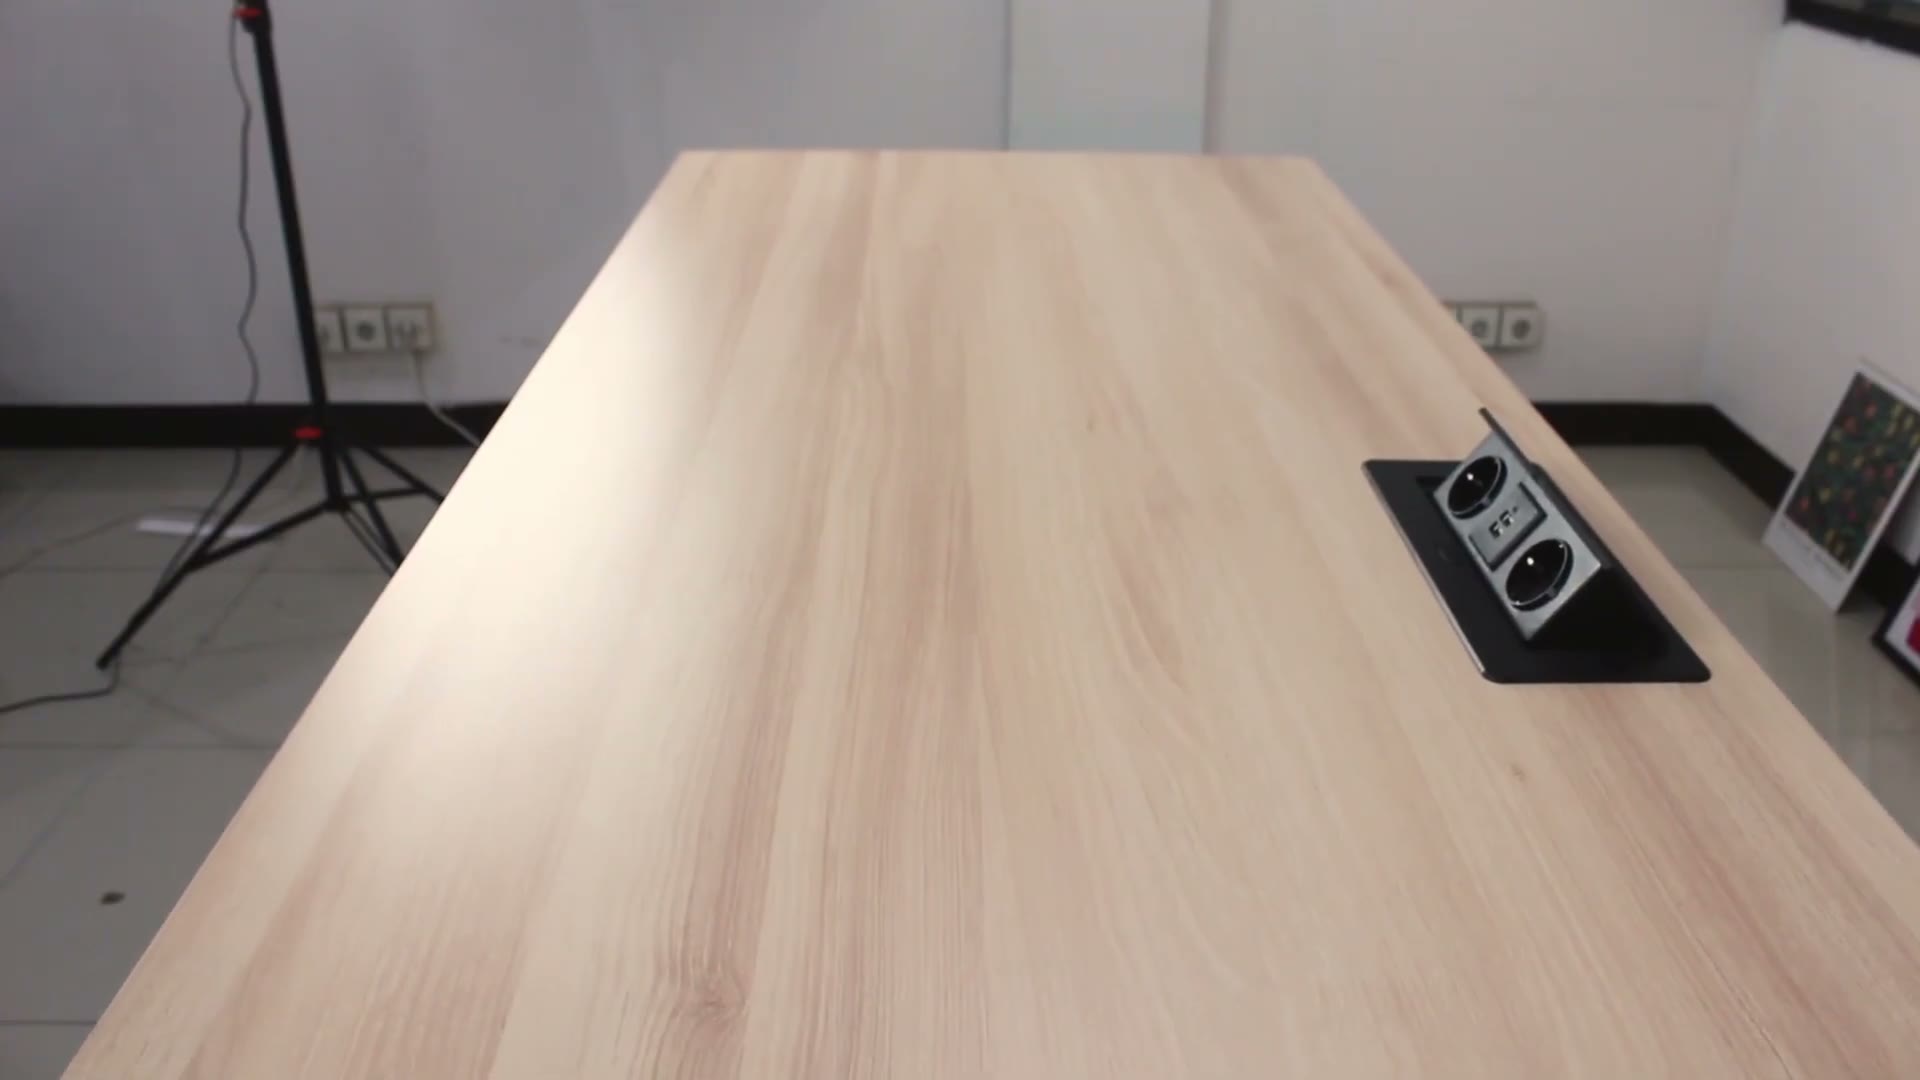
Assemble your Kanata standing desk
Follow along step by step — around 20 minutes, no special skills required.
The full video tutorial
Prefer to watch? Here's the complete assembly, start to finish. Or read the step-by-step below.
What's in the box
Unpack everything and check it against the list below. The right leg is the one that holds the motor.
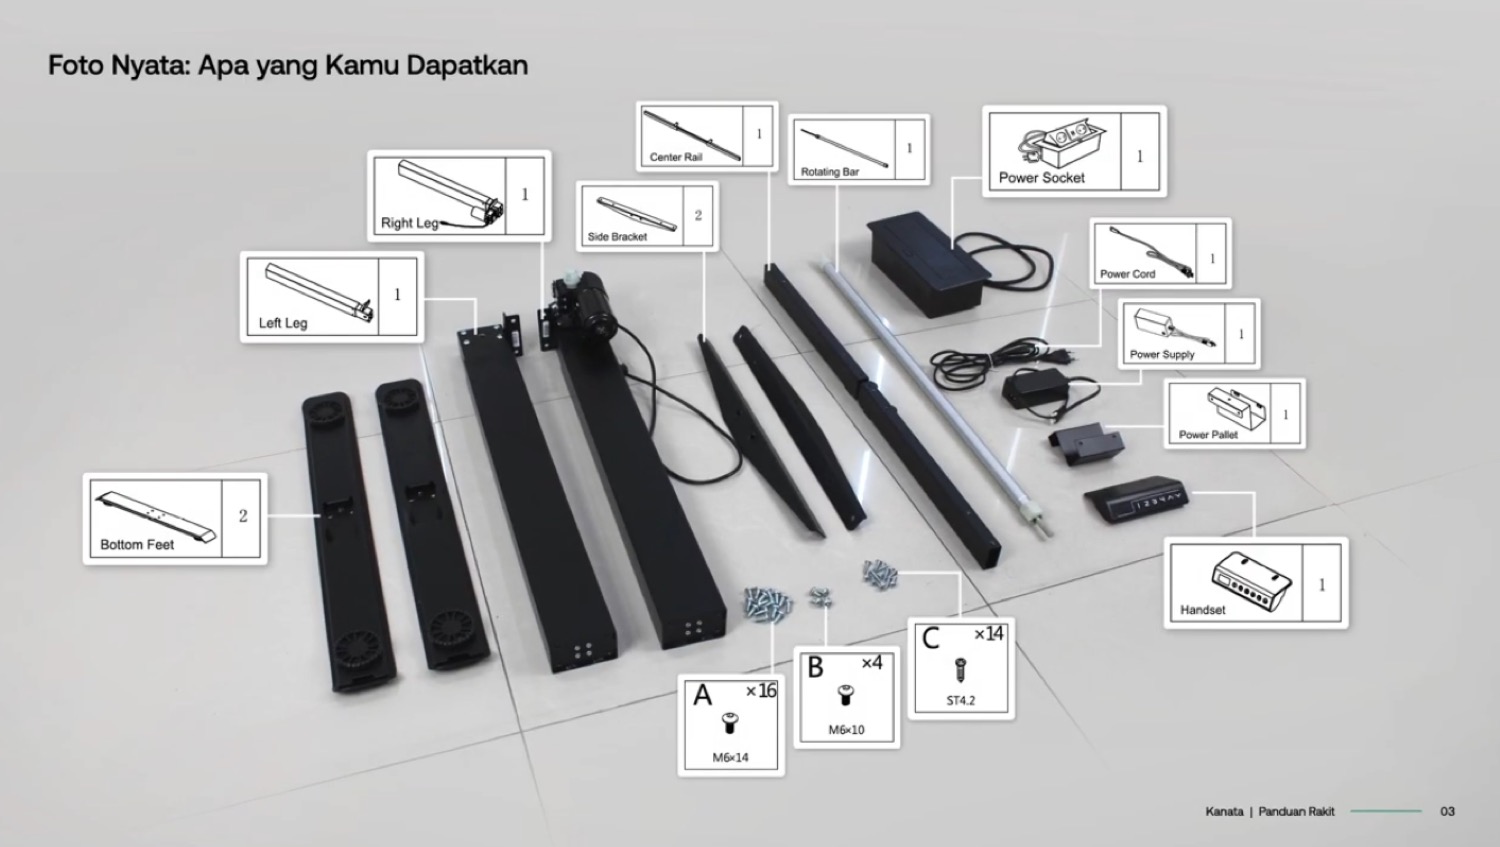
- Bottom Feet×2
- Left Leg×1
- Right Leg (holds the motor)×1
- Center Rail×1
- Rotating Bar×1
- Side Bracket×2
- Power Supply×1
- Handset×1
- Power Pallet×1
- Power Cord×1
- Power Socket×1
- An electric screwdriver or drill (recommended)
- The included nut spanner (D)
- The included Allen keys (E)
- A second person to help flip the desk (recommended)
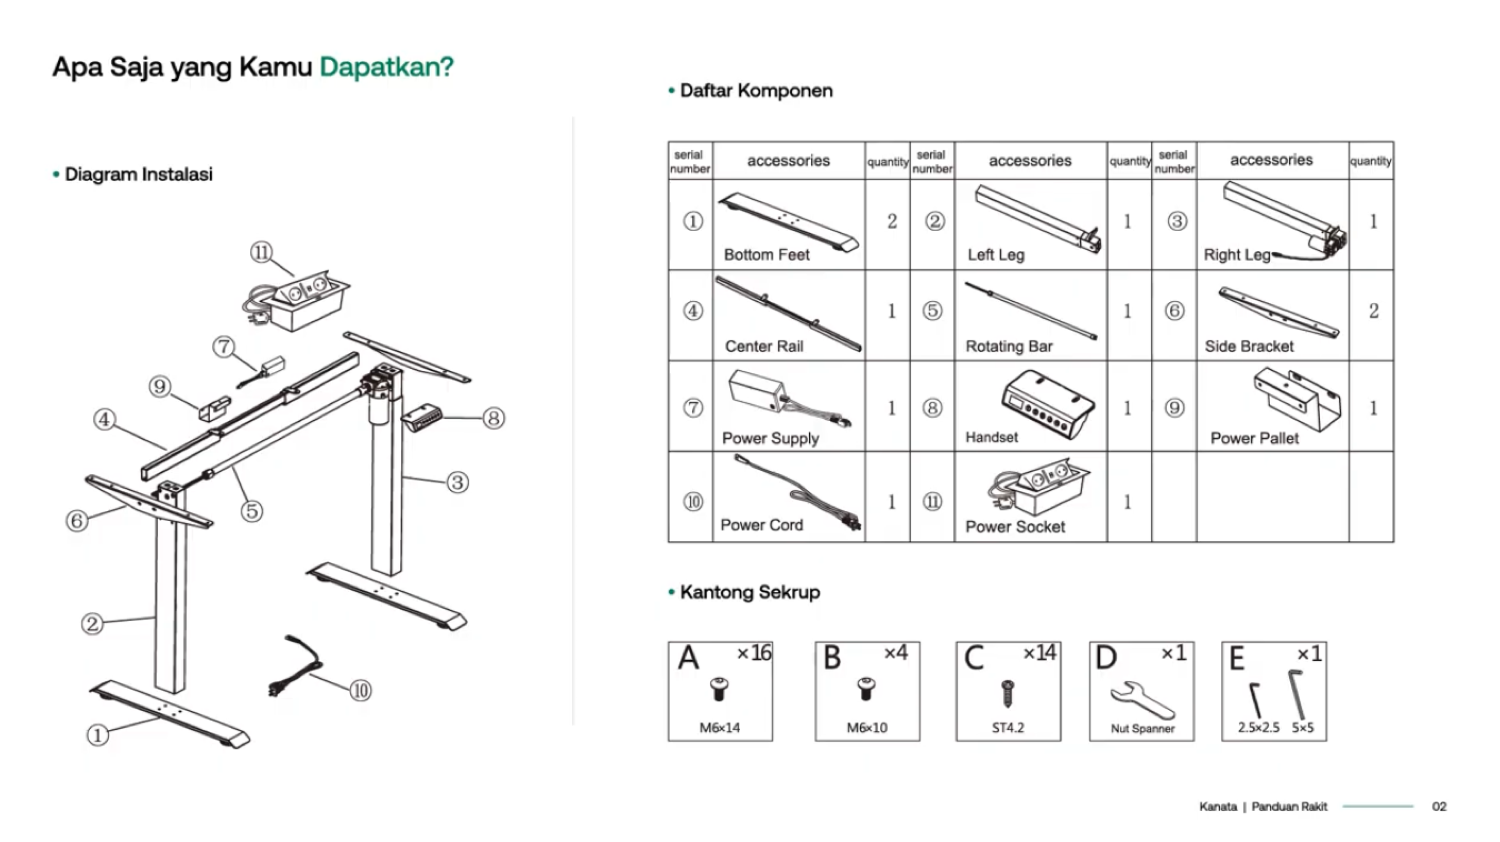
15 steps to standing
 1
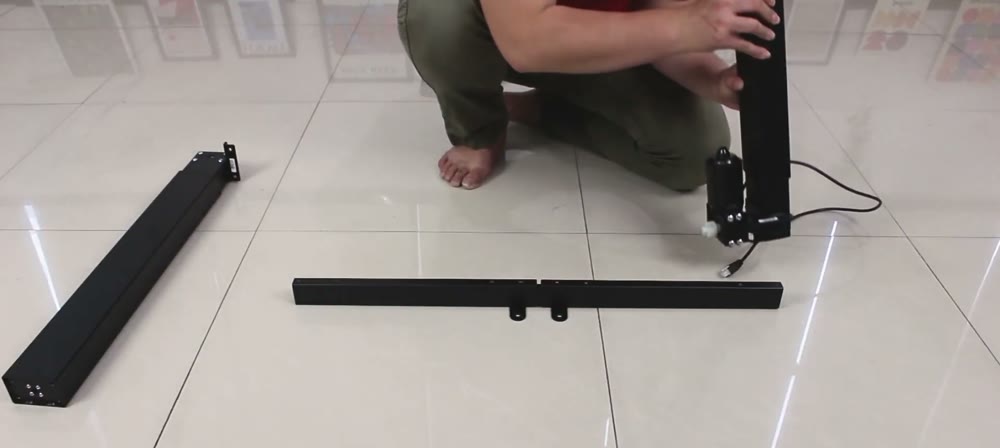
1Lay out the frame
Position the left and right legs on either side of the center rail, matching each to the correct side.
 2Uses A
Attach the legs to the center rail
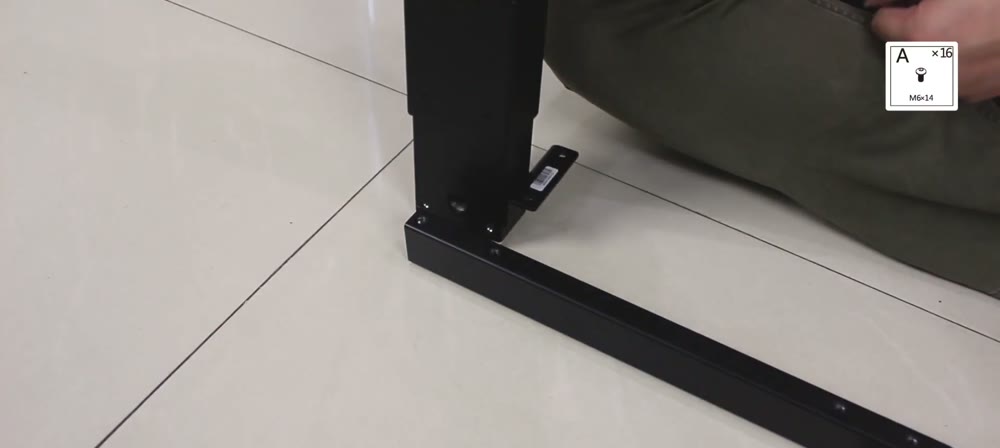
Fasten each leg to the center rail using the A bolts (M6×14).
 3Uses A
Add the bottom feet
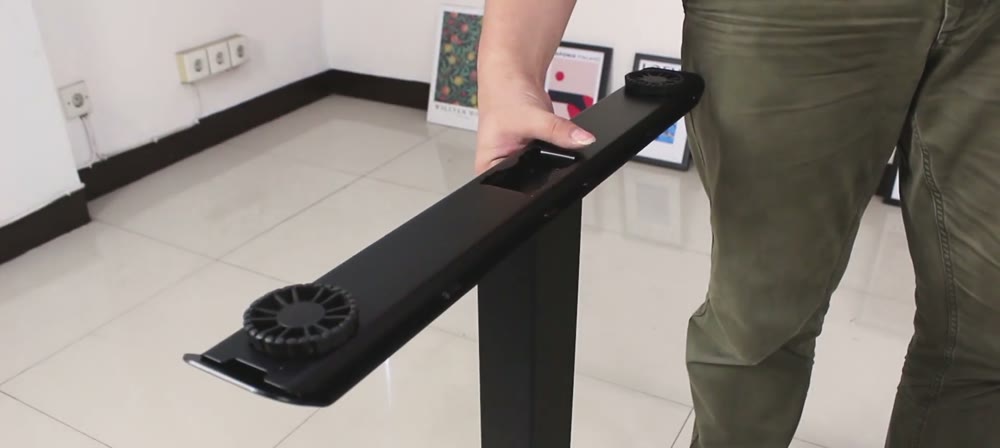
Connect a bottom foot to the base of each leg column, again using the A bolts.
 4
4Stand the frame on its feet
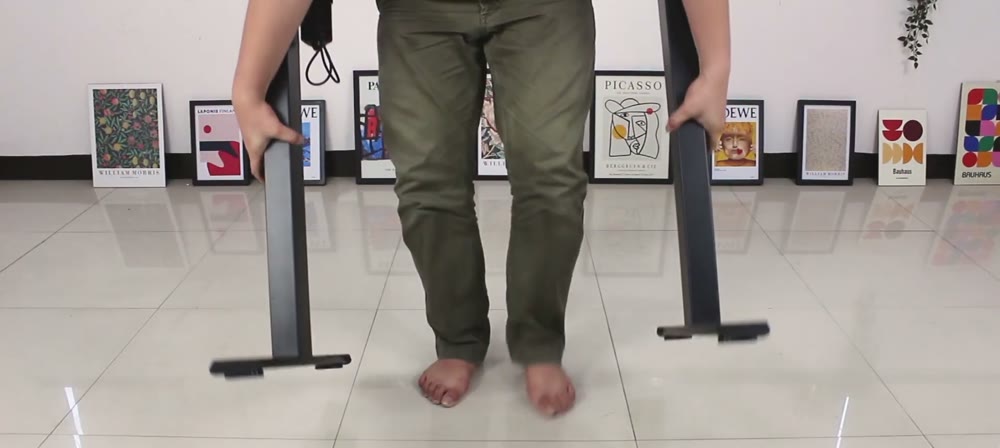
Flip the assembled leg frame over so it stands upright on its feet.
 5
5Set the frame onto the tabletop
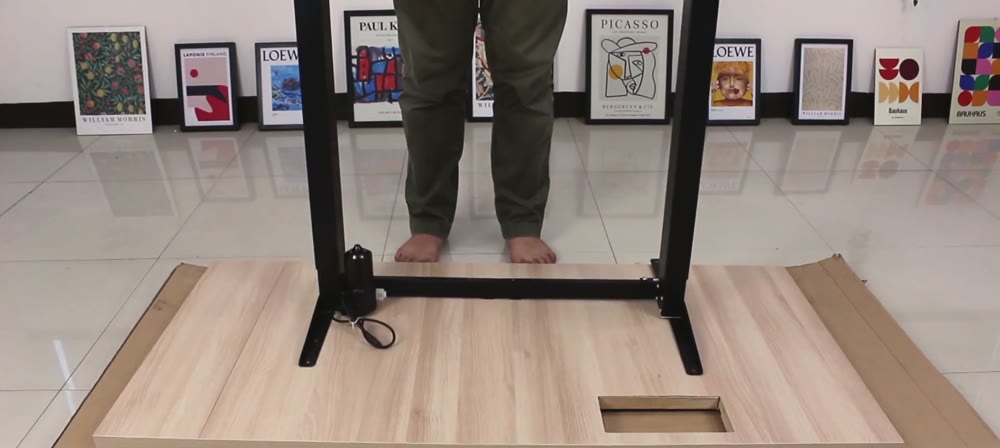
Lay the tabletop face-down, then place the frame onto the back of it. Line the frame up with the dot marks on the left and right sides of the board.
 6
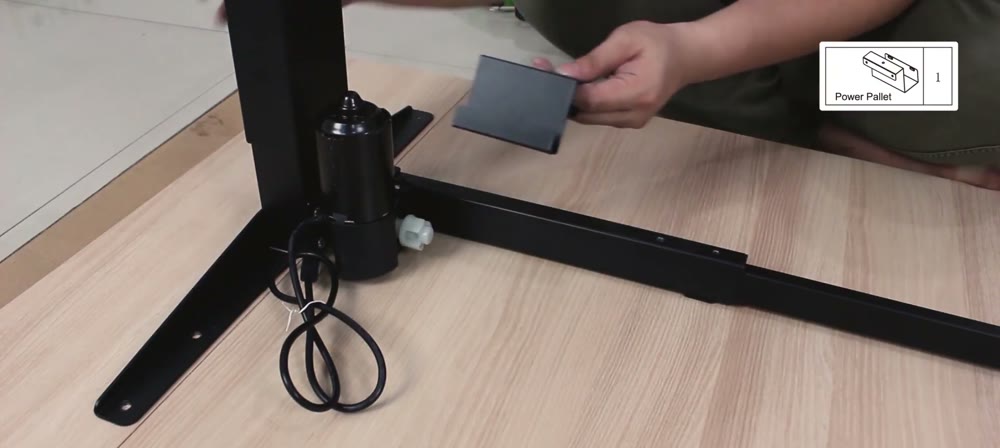
6Hang the power pallet
Hook the power pallet onto the leg frame, next to the leg that holds the motor (the right leg).
 7Uses C
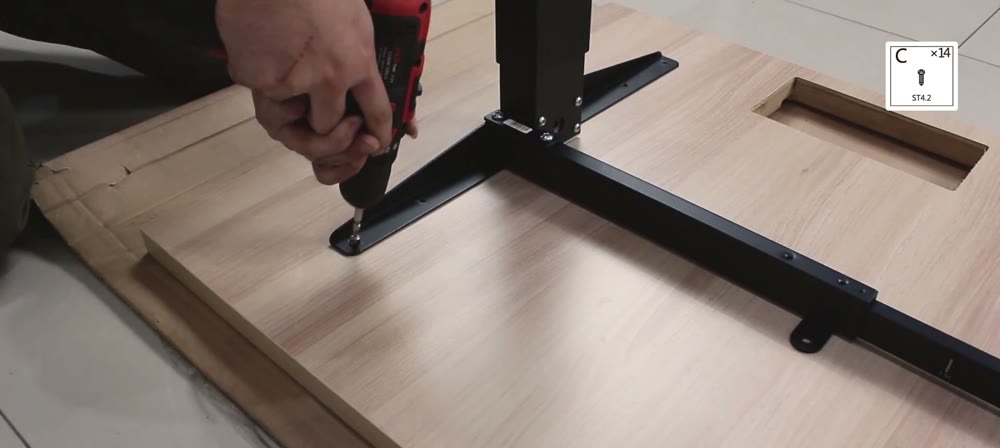
Fix the side brackets
Secure each leg's side bracket to the tabletop with the C screws. Repeat on both sides.
 8Uses C
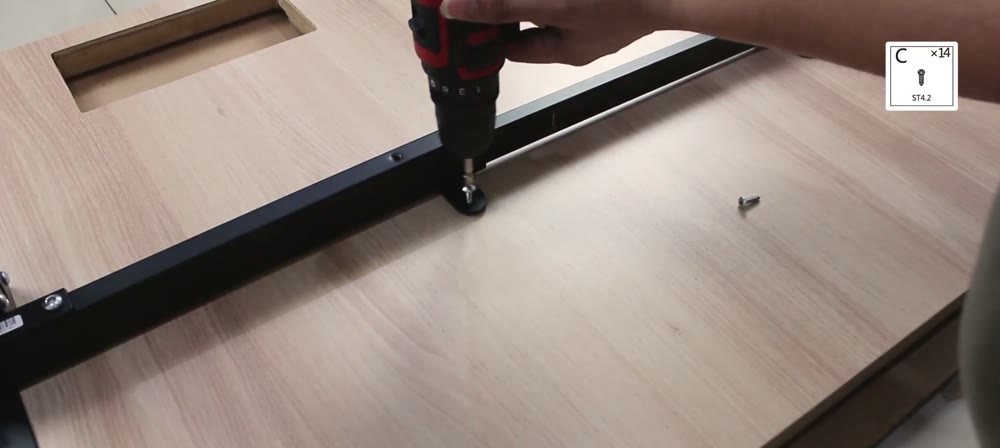
Fasten the center rail
Attach the center rail to the tabletop using the C screws.
 9Uses B
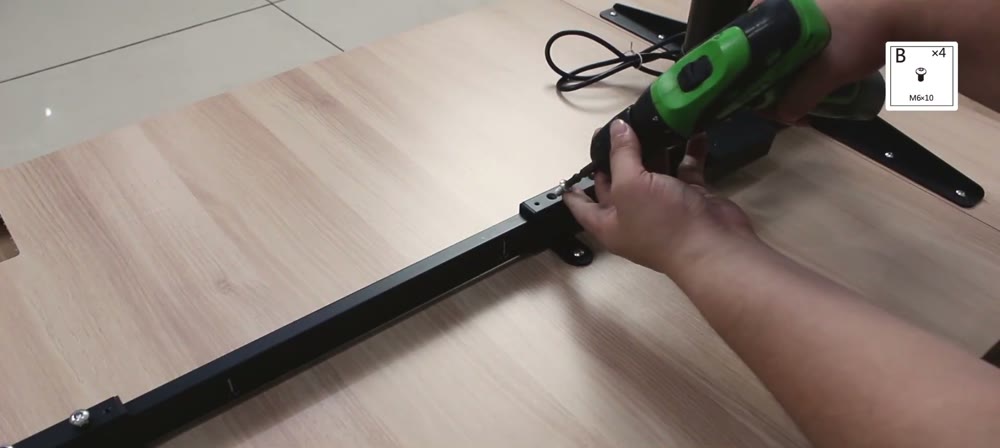
Lock the rail in position
With the center rail at the correct depth, lock it firmly in place with the B bolts (M6×10).
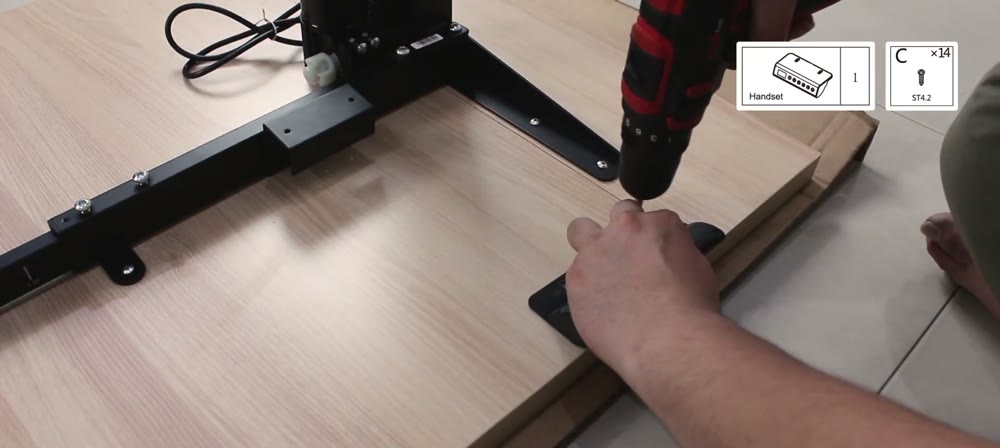 10Uses C
Mount the handset
Fix the handset (control box) to the tabletop with a C screw, positioned just in front of the power pallet.
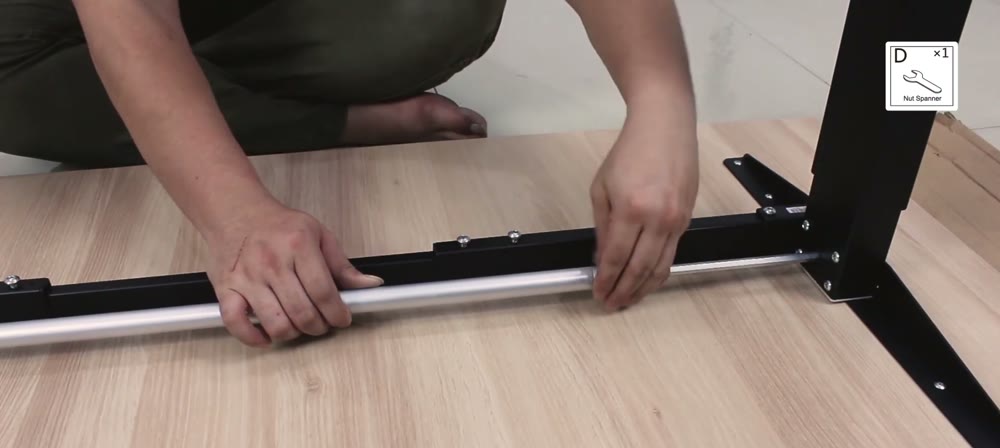 11Uses D
Connect the rotating bar
Make sure the rotating bar is connected on the right side, then tighten it by hand or with the nut spanner (D).
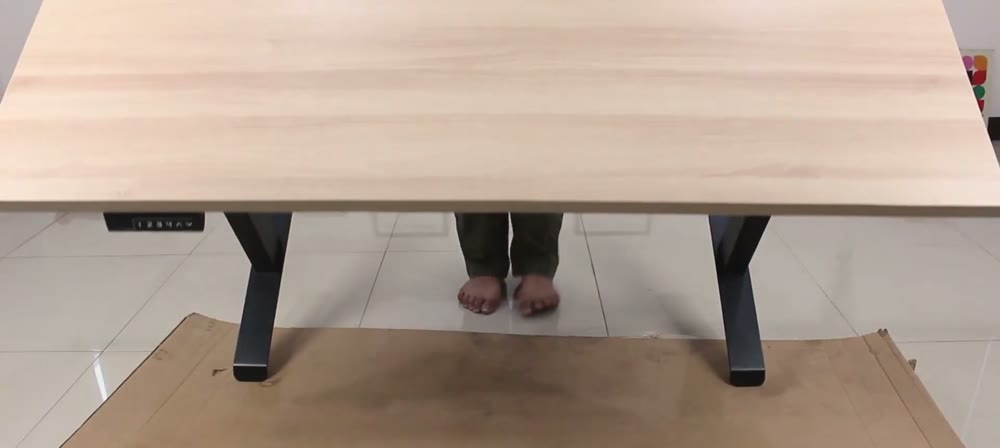 12
12Stand the desk upright
Carefully turn the whole desk over so it stands on its feet.
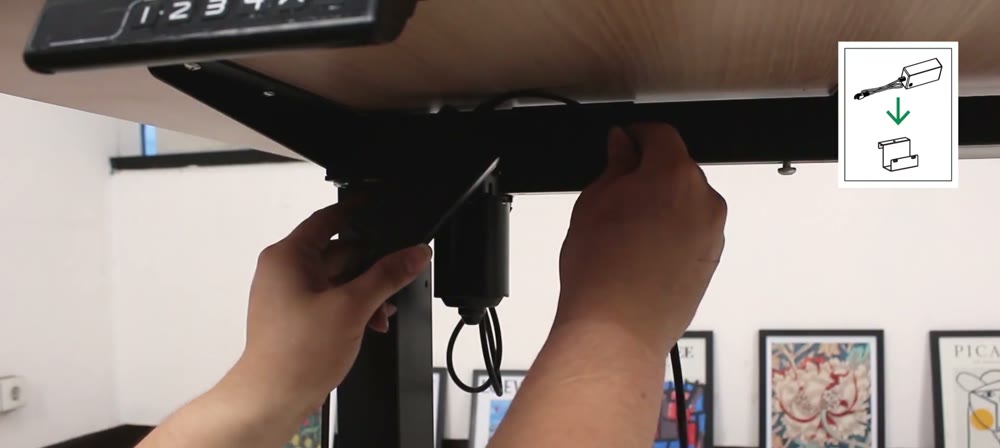 13
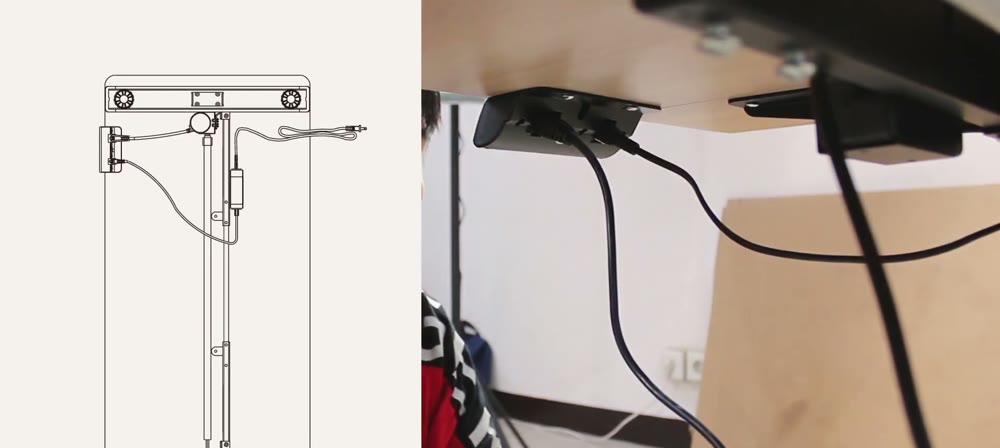
13Hang the power supply
Hook the power supply onto the power pallet under the desk.
 14
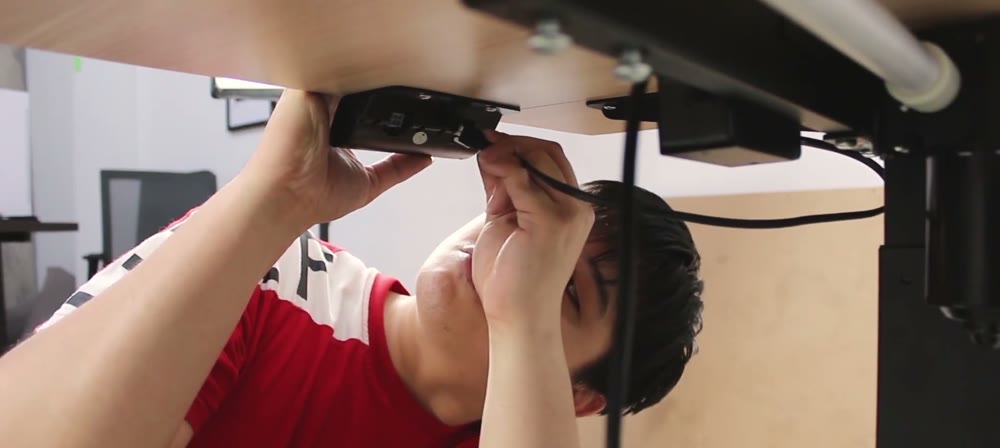
14Connect the motor cable
Plug in the cable running from the motor in the right leg.
 15
15Fit the power socket
Push the power socket into the cutout in the tabletop until it sits flush. Your standing desk is ready to use!
Tips for a smooth build
The motor lives in the right leg — keep the power pallet, cables, and handset oriented around that side.
Line the frame up with the dot marks pre-marked on the back of the tabletop before driving any screws.
Leave screws slightly loose until the frame is square, then go back and firm everything down.
Ask a second person to help flip the desk onto its feet so you don't scratch the tabletop.
Stuck on a step?
Message us on WhatsApp — we'll walk you through it, or send the full assembly PDF.